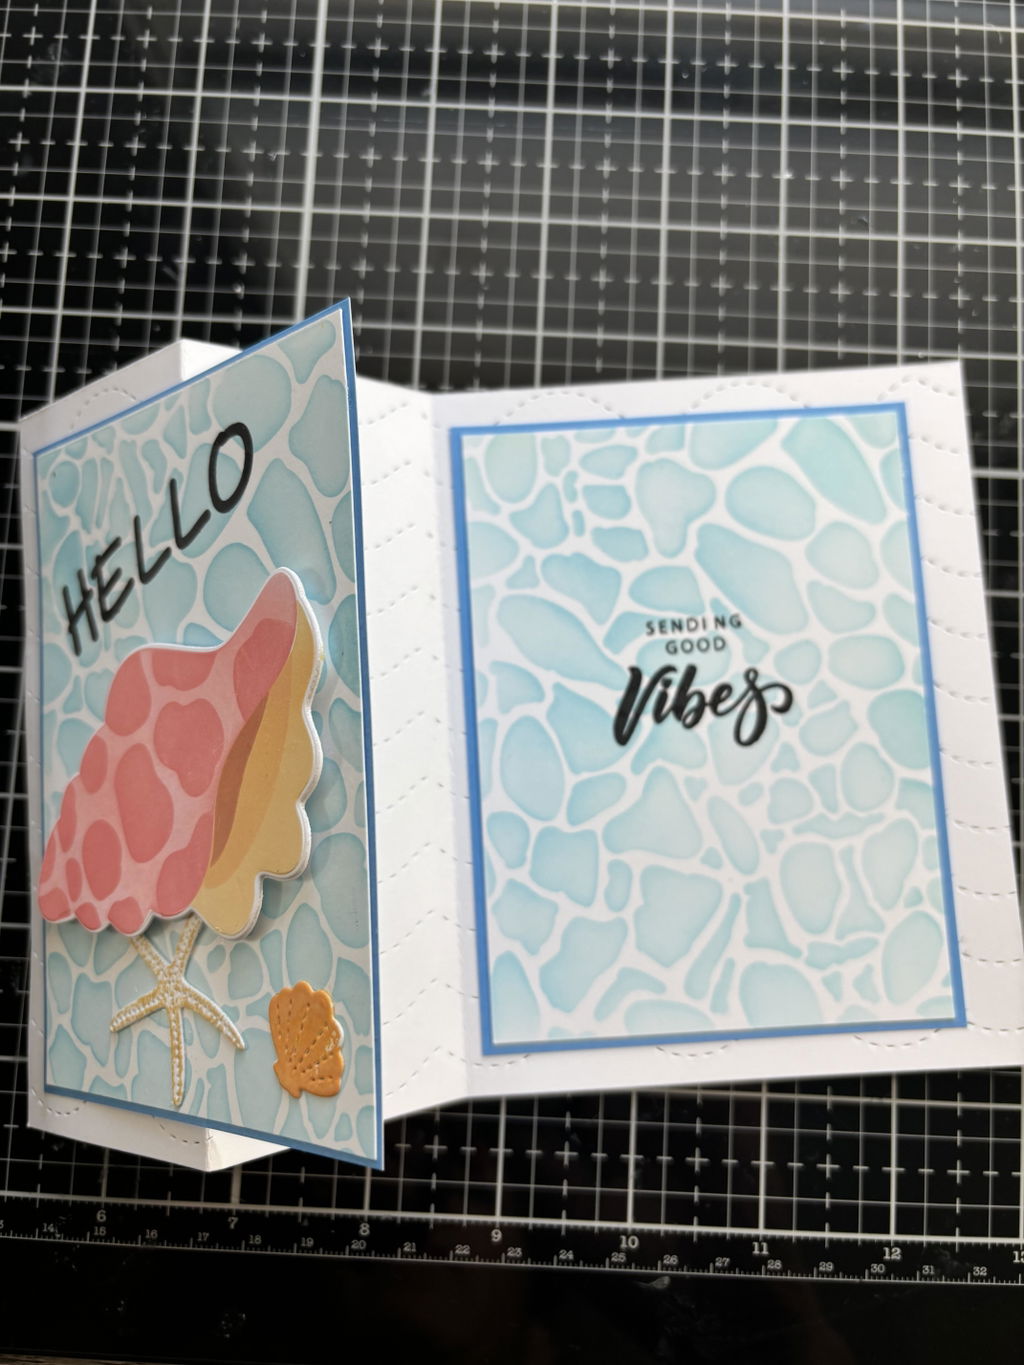
For our Beach Days release, we love the large size of this Sea Snail and the detail the stencil helps add to the diecut. As with all of our newer die-n-stencil designs, we recommend diecutting first and then stenciling to give the stencil more room over your Grip Mat. Diecutting first also makes aligning the stencil to the diecut piece easy, allowing you to create perfect white borders for the sea snail to pop off the background every time.
Set of 1 die and 1 stencil
Approximate Size: Assembled Sea Snail: 3 9/16" w x 2 1/4" h
Love this stencil set. I found it a little tricky to align with stencil layers. Tried precutting die and stenciling first. Will need to review Galina’s video a few more times to perfect. Overall- it’s a great addition to my beach themed card stash.
Chris G.
A-ski-ing for more
These dies & stencils are brilliant. Numbered and so easy to use with great results. Please bring out more of these types of die & stencil combo.
Sorry my pic a bit dark.
Cool Cat Die-n-stencil
Donna T.
The icing on the cake
These little postage accessories just finish your postage stamp collage off perfectly.
Postage Collage Stamp Set
Donna T.
Instant Creativity
Even the most inexperienced card maker can quickly make perfect cards with the block die. It is quick and also a great way to use up all that patterned paper the we all collect but never use.
Postage Collage Blocks Die
Arlene M.
Tag Nesting Dies
The dies cut nicely and I love all the sizes. I'm going to use different sizes so it doesn't get old fast. LOL However I used the next to smallest dies for the dies I'm showing you. I used up the last of the paper in my stash for these tags. You can use up your stash with small tags. If the paper is thin, just layer it over a heavy card stock paper.
(Pre-Order) Nesting Tags Die
Amy T.
Bootiful
Absolutely love the Boo die. The perfect size to make a statement on a treat container or card!